Transport and storage
The pipes are supplied with plastic plugs at either end to keep out dirt. These plugs should be replaced to protect leftover pipes for later use.
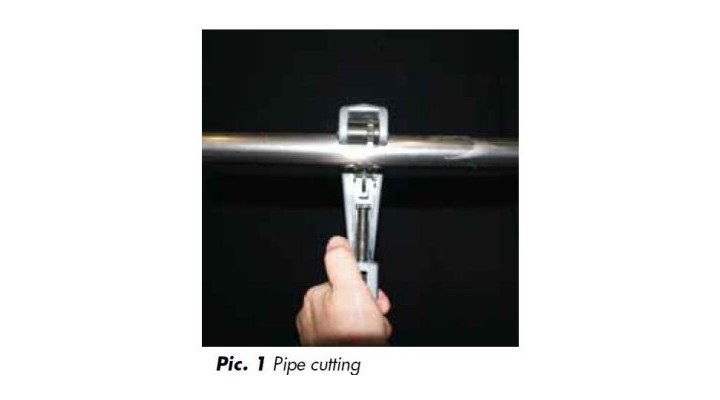
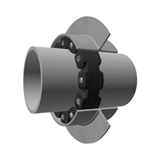
Pipe cutting (pic 1)
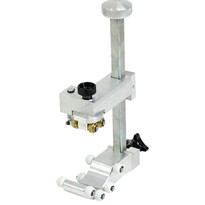
Pipes must be cut at right angles to their axis, using a pipe cutter or fine-tooth saw, taking into account the depth of insertion into the fitting.
Avoid equipment that may cause heat deformation such as blowtorches or grinding wheels.
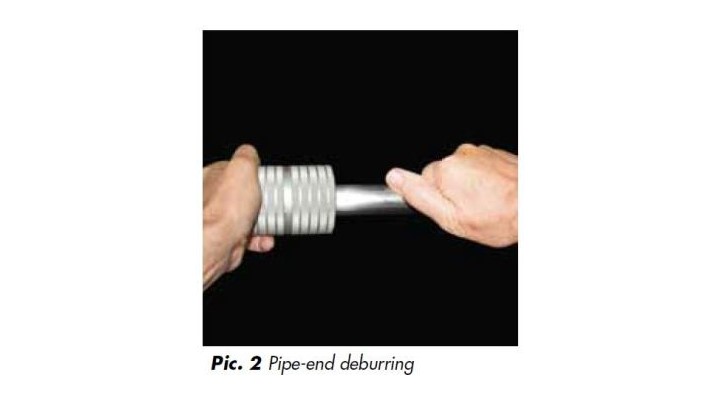
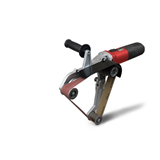
Pipe-end deburring (pic 2)
After cutting, the pipe must be carefully deburred, both inside and outside, using a manual or electric deburring tool so as to avoid damaging the o-ring gasket when the pipe is inserted into the fitting, causing possible leaks. Any cutting residue (swarf) must be removed.
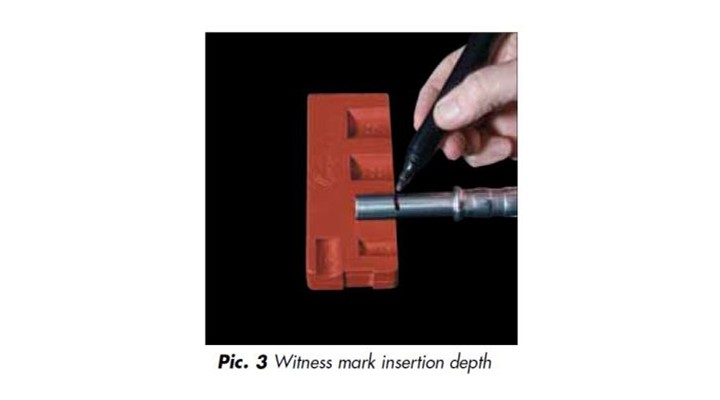
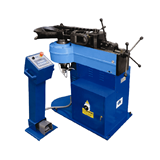
Witness marking and inertion depth (pic 3)
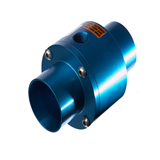
To ensure a correctly inserted joint the pipe must be marked with a felt-tip pen where it meets the fitting using the Europress depth gauge so that any movement before or after pressing can be identified.
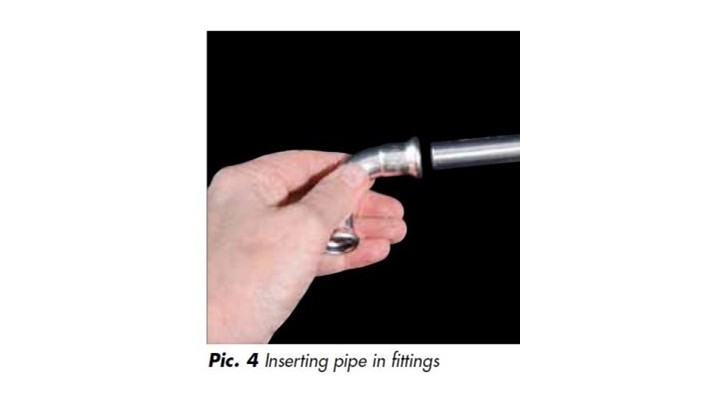
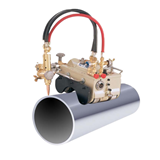
Inserting pipes in fittings (pic 4)
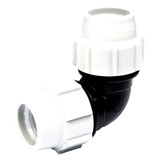
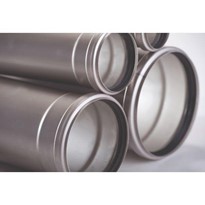
Before assembling the fittings, the positioning of the o-rings in their toroidal seats must be checked and, if necessary, lubricated with water or talc to ease the insertion of the pipe. Oils, greases, glues or other similar substances must on no account be used.
The pipe is inserted in the fitting with a slight rotating motion until it hits the stop.
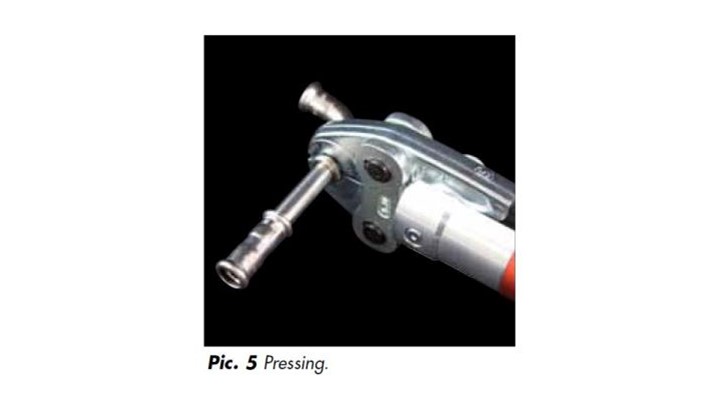
Pressing tool assembly (pic 5)
The pressing tools must be equipped with M-shaped profile jaw attachments or pressing chain corresponding to the diameter of the fitting to be pressed. Refer to the user manual for the particular tool for set-up and operating instructions.
For a good, reliable pressjoint, the internal channel of the jaws must form a perfect fit round the toroidal seat of the fitting. The joint is pressed by closing the jaws. Pressing must only be carried out once, otherwise the o-ring seal could be damaged. Some swelling, occurring in the area outside the toroidal seat, can be considered normal.


